Cheeseburger Salad with Air Fries
Sharing is caring!
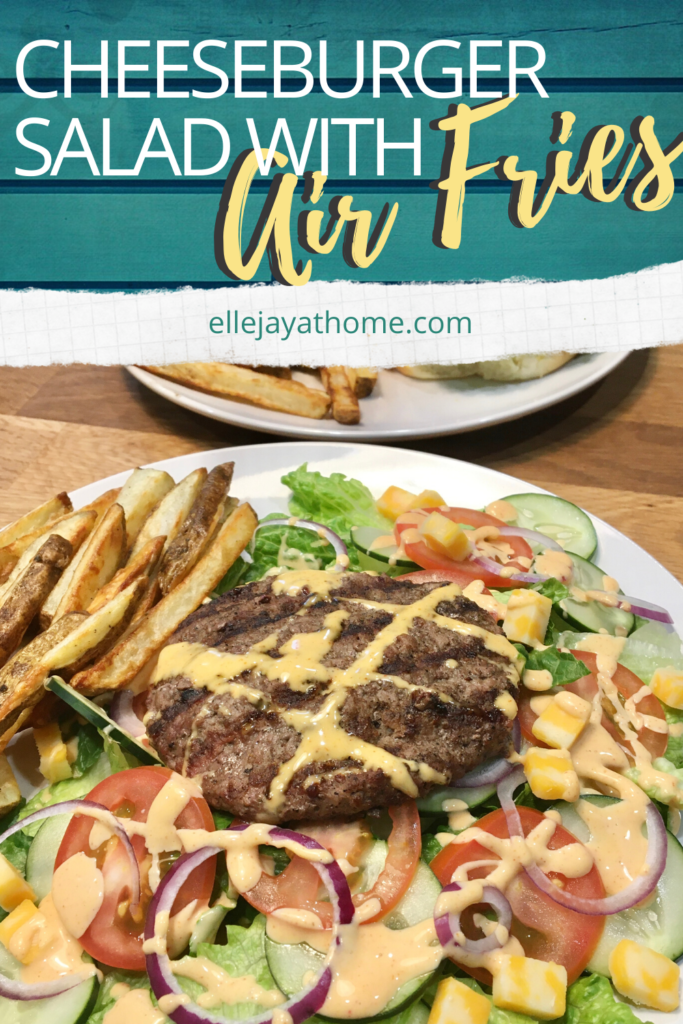
I have a confession to make: I’ve gained weight since the Stay at Home order went into place. The night the scale flipped past the 5-pound mark, we were set to have burgers. So, naturally, mine turned into a salad, but like any red-blooded American, I still planned to eat my fries. And thus was born the cheeseburger salad… with air fries!
Disclaimer: This post may include affiliate links. If you click a link and make a purchase, I’ll receive a commission at no extra cost to you.
Keep Your Head on Straight
Now, I try not to get hung up by the number on the scale. I want to start by saying that. It’s taken me a while to learn a healthier relationship with that stupid little box. It is just a number, y’all.
That said, I still need my clothes to fit. I don’t have the money to throw at a new wardrobe. Right now, it’s fine because I don’t leave the house and my yoga pants are really friendly. But you know.
So, let’s get real about this cheeseburger salad. It’s not necessarily healthy, per se. It’s just slightly better for you than a burger on a bun. Where the veggies on your standard burger are a little light, bulking up the plate with extra green and removing a processed flour bun just helps.
Now, this of course comes with fries. You don’t have to make them, or you can make them for everyone else and not eat them. For me, it’s a matter of not feeling left out or deprived. You can feel it coming, can’t you? It’s story time.
Story Time: Don’t Deprive Yourself
The first Independence Day after I started Weight Watchers, I was so gung ho about losing weight that I brought my own zero-point broccoli slaw and ate a plain burger patty. I skipped all the desserts and was technically very good all day. I even spent 30 minutes on the elliptical before we left for the party.
But I was flipping miserable. I was sad not to have a cupcake and scoop of my mother-in-law’s taco salad. I honestly cried on the way home. Then, I remember complaining about how all the “salads” at this party had mayo in them at my meeting. The leader was like, “so why didn’t you just try a little bit and count the points?”
Don’t make eating healthily miserable, or you will feel like you’ve “fallen off the wagon” when you enjoy something tasty. Okay, that’s my soapbox. Let’s talk about fries.

I Love Fries, but I Hate Frying Things
Maybe that’s a little bit of an exaggeration, but I don’t particularly like frying things. There’s a whole lot of oil involved, but I don’t want to waste it, so when we finish, I always cool it and slowly filter it through a coffee filter to be poured back into the bottle.
It’s not super inconvenient, but it’s not as simple as wiping out the air fryer basket either. One of the major appeals of the air fryer is that you don’t have to use a lot of oil (or any oil if you don’t want to). It makes frying your favorite food a little bit healthier.
I say a little bit because let’s be honest, you’re not frying healthy things, to begin with. Our air fryer sees Pizza Rolls, potstickers, mozzarella sticks, jalapeño poppers, and, of course, fries.
The healthiest thing our air fryer does is Turkey Meatloaf, and it’s amazing. I’ll never make meatloaf in the oven again. But I guess that’s the appeal of our air fryer to me. I can make regularly unhealthy things slightly better for me and enjoy them without the nagging sense of guilt.
How Do You Make the Best Air Fryer Fries?
In order to make what I truly think are the best air fryer fries, you have to prep your potatoes. We’re starting with russet potatoes the size I would eat for a baked potato meal. Whether you peel them or leave the skins on is a matter of your preference. I like it when there’s a little bit of both. Do you, friend.
Cut is a Matter of Preference
The cut is also a matter of preference, but it does affect your cooking time. Use a mandolin for really good, even shoestring fries or even waffle cuts! We have lost our set of mandolin blades, so we generally just use a sharp knife.
Just note that if you want to cut on a mandolin, your potato needs to be small enough for the blade width. And I have to include the safety note to use the provided handle to avoid slicing off your finger tips.
There are also really neat protective gloves. We used them when I worked at the Brazilian BBQ section of the dining hall in college. If you ever work with rotisserie or churrasco spits, they’re helpful to avoid skewering your own hand.
The point is to cut your fries evenly and protect your fingers.

Soaking Them for a Crisp
The next step is important if you want a good crispy exterior but also to avoid oxidation while you continue to cut fries. Place all the cut potatoes into a large bowl and cover with water.
Once you’ve finished cutting, toss the pre-fries in the water until the water is super murky. This is starch being released. You can save this to make potato yeast, water your garden with it, or dump it. Up to you.
Then, cover them a second time with water and let them soak for up to an hour. Drain the water again and give them a good rinse in cold water. Pat dry with a towel. At this point, a toss in a bit of avocado oil and sea salt is in order.
Getting Flavorful Fries Before Frying
Avocado oil is a neutral flavor but it also has a higher smoke point than something like olive oil. That means that it’s not going to burn or lose any of its good qualities in the heat of the air fryer. You’ll notice some oils turn sticky and are hard to clean off if you let them.
Since you’re only using a tablespoon or less (depending on your volume of fries. I’d go 1 Tbsp per 3 large russet potatoes), it’s fine to use a better oil.
Then I sprinkle with sea salt. Regular table salt is just fine, but I just find that my fingers swell after I have the iodized stuff. With pink himalayan, I actually feel better.
So you’re coating the potatoes lightly with oil and a little bit of salt. I’ll leave these seasoned fries in the strainer with a towel beneath. Salt can draw excess moisture out of your fries, and that moisture shouldn’t collect at the bottom of a bowl, or the fries will lose their coating.
And Finally Air frying the Fries!
The final step is properly air frying these fries you’ve worked so hard on. Keep in mind that all these steps will hardly take you that long (except for the soaking part, but you can cut your time down as low as 20 minutes and it’ll be fine. 1 hour is just optimal).
My air fryer can handle about 1 pound of fries at a time. Don’t overcrowd the basket. Then set the temperature to 350ºF and the timer to 10 minutes. When the timer goes off, pull the basket out and give it a good shake to toss the fries about.
Back into the air fryer again for an additional 5 minutes. Once they’re out, you can toss them with a bit more salt, or leave them as is! In the fifteen minutes that your fries are cooking, you can assemble your salad!

Let’s Make a Cheeseburger Salad!
Now, who doesn’t love a flame-grilled burger? If you don’t have that option, you could definitely wait until your fries are finished, pop them on a sheet pan and keep them warm and crunchy in the oven. Then air fry your burger patty at 350ºF for 3 minutes, flip and then fry it for another 3 minutes.
Cooking Your Beef Burger Correctly
You can also cook it stove top or under the broiler in your oven. Whatever your choice, cook your beef burger to an internal temperature of at least 160ºF. If you know exactly how long ago your beef was ground and have the utmost confidence in it’s sanitation, you might go as low as 145ºF for a medium-rare.
I don’t personally recommend this. As soon as the beef is ground, its surface area increases and is exposed to more airborne bacteria. That means that there are likely more foreign bacteria inside your burger than you expect there to be. Just cook it to be safe. Plus, who wants red meat juice in a salad?
Cooking a Turkey Burger Correctly
If you choose, instead, to make turkey or chicken burgers, the interior temperature needs to meet 165ºF. With beef, slightly under that is still safe to eat. With poultry, you need the meat fully cooked to avoid food poisoning.
Some people advocate for adding eggs, bread crumbs, and a bunch of other stuff to a turkey burger. I don’t know why. Just form your patties and grill them. I don’t even suggest seasoning the meat at this stage. There will be enough on the rest of the salad.
Build Up a Layer of Greens
With your burger patty and fries cooked, it’s time to assemble a salad. Start by putting down a nice layer of lettuce. I use romaine (which I’ve washed because there have just been far too many outbreaks of E. coli for me not to do).
Chop or tear your lettuce into bite-sized pieces, and toss them together so the darker tops mix with the lighter bottoms. Portion out enough for each plate.

Choose Your Cheeseburger Salad Toppings
The standard cheeseburger toppings are tomato, onion, pickles, and ketchup and mustard. The first three are easily converted to salad ingredients.
You might even swap the pickles for cucumbers if your garden has been extra productive this year, and you haven’t had time to pickle anything yet. Heck, maybe use both! It’s your salad! Just cut them all into a nice size and shape for a bite.
Slice your tomatoes like they’re going on a burger, or dice them if you want more of a chopped salad experience.
I like cheese on my burgers, but letting that american slice melt on generally just makes my salad all sticky. Instead, I like a few cubes of colby jack or cheddar
Now let’s talk about the onions. I don’t particularly enjoy raw onions. That’s why I’ll either give my sliced red onions a quick soak in ice water and then pat them dry. This takes a bit of the edge off their bite.
An even better option is to grill them. Pop them in a little foil packet on the grill while you make your burgers. Mmmm!
Make Some Secret Sauce… shhhhhh!
If I lost you at ketchup and mustard, I hope you’re coming back to me now. These toppings just don’t seem right on a cheeseburger salad by themselves, do they? Do you know what does work? Russian dressing.
But if you want to make your own, it’s a simple combination of ketchup, mayo, sweet relish, and white vinegar. Mix this together and drizzle over your salad. This recipe is based off the In-and-Out secret sauce recipe, but feel free to look up what goes in the Big Mac sauce if you want.

Finally, Add the Fries!
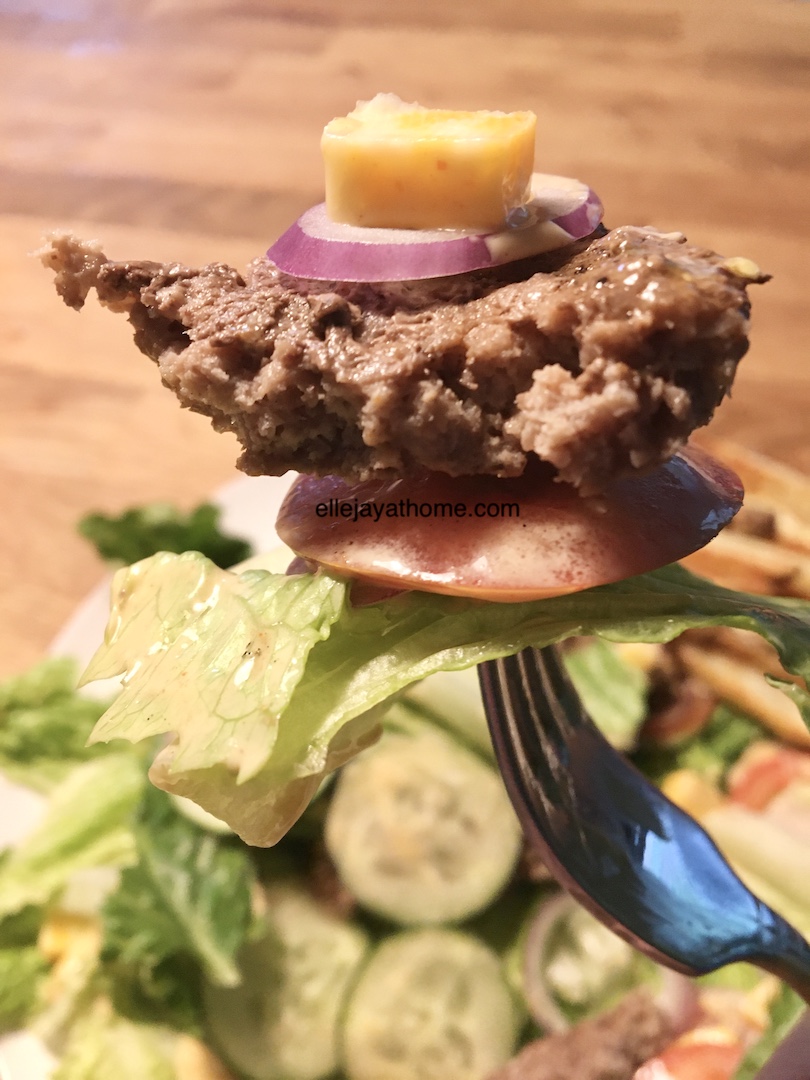
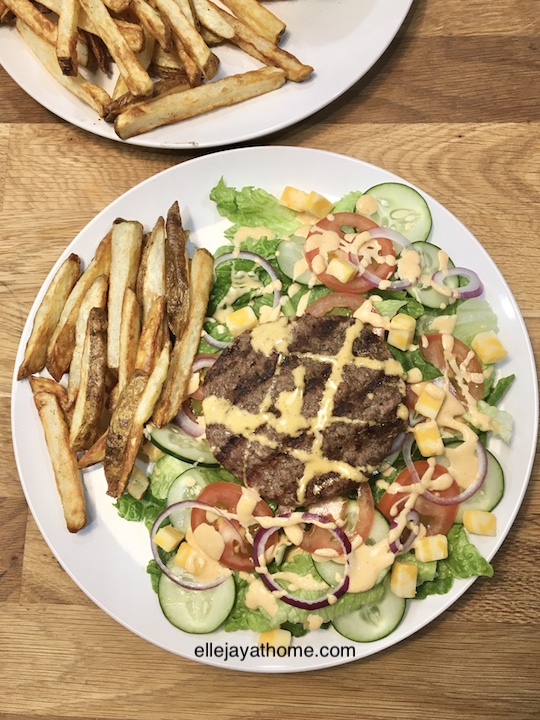
Once you have that sauce, it’s time to start eating. I like to put my fries on the side so I still feel like I’m having a sneaky little side. However, there is a delicious bite to be had by piercing a bit of burger, cheese, fry, and sauce. Ooooh my goodness.
So, if you feel like the fries are better suited as crouton substitutes for your cheeseburger salad, I support that decision 100%.
However you make your cheeseburger salad, take pictures, and tag me on social media at @ellejayathome. Follow me to see your pictures featured in my stories (with your permission of course).
Subscribe for weekly updates and fun news, and comment below with your thoughts on cheeseburger salad! I love hearing from you!
Cheeseburger Salad
Ingredients
- 6 ounces ground beef or turkey
- 1 head romaine lettuce washed
- 1 large roma tomato
- ½ cup red onion
- ½ cup cucumber or pickles
- 2 ounces colby jack cheese
Secret Sauce Dressing
- 2 Tbsps sugar-free ketchup
- ¼ cup fat-free mayo
- 2 Tbsp relish
- 2 tsp white vinegar
Instructions
- Form the ground beef or turkey into two 3 ounce patties. Grill on the first side for 3 to 5 minutes until a nice crust forms on the other side and the juices rise to the top. Flip, and continue to cook for an additional 3 to 5 minutes until cooked through. Allow the patties to rest while you assemble the rest of the salad.
- Tear or chop the lettuce into bite sized pieces. Split it between two bowls.
- Cut the tomato in have lengthwise, and then slice each half into half-moon pieces. Place half the tomato in each bowl.
- Slice the cucumber into half-moon slices and split between the bowls. If you are using pickles instead, place an equal amount in each bowl.
- Slice the red onion according to your preference. To remove the bite, soak them for 5 minutes in a bowl of cold water, drain, pat dry, and then split between the salads.
- Dice the colby jack into cubes and place 1 ounce in each salad.
- Set your burger patty on top or cut up into pieces first, if you want.
- In a small bowl, combine the ingredients for the dressing and whisk thoroughly with a fork. Dress each salad.
Air Fryer Fries
Equipment
- Air Fryer
- Large mixing bowl
- Colander
- Knife or mandolin
Ingredients
- 2 large russet potatoes
- 1 Tbsp avocado oil
- 1 tsp pink himalayan sea salt
Instructions
- Wash your potatoes thoroughly, and peel as desired.
- Cut your potatoes into your desired fry shape either using a knife or the appropriate mandolin blade, taking care to protect your fingers.
- Soak the cut potatoes in water for 30 minutes to one hour. Drain and pat dry.
- Toss the fries in oil and place in the basket of the air fryer.
- Air fry for 10 minutes at 350ºF. Shake the fryer basket a bit to toss the fry around. Then cook for an additional 5 minutes.
- Salt the fries and toss them to coat evenly. Serve hot!
Sharing is caring!
4 Comments
Lulu @thousandcaminos
You had me at cheeseburger! This looks great 🙂 i haven’t used an air fryer before!
Kirsty Taylor
I cannot wait to try this recipe out next week, the perfect combination of healthy and indulgent!
supal
This looks so delicious! I agree that we shouldn’t be depriving ourselves 🙂
Lauren Raigoza
Yum!! I love cheeseburgers and this looks so delicious!